
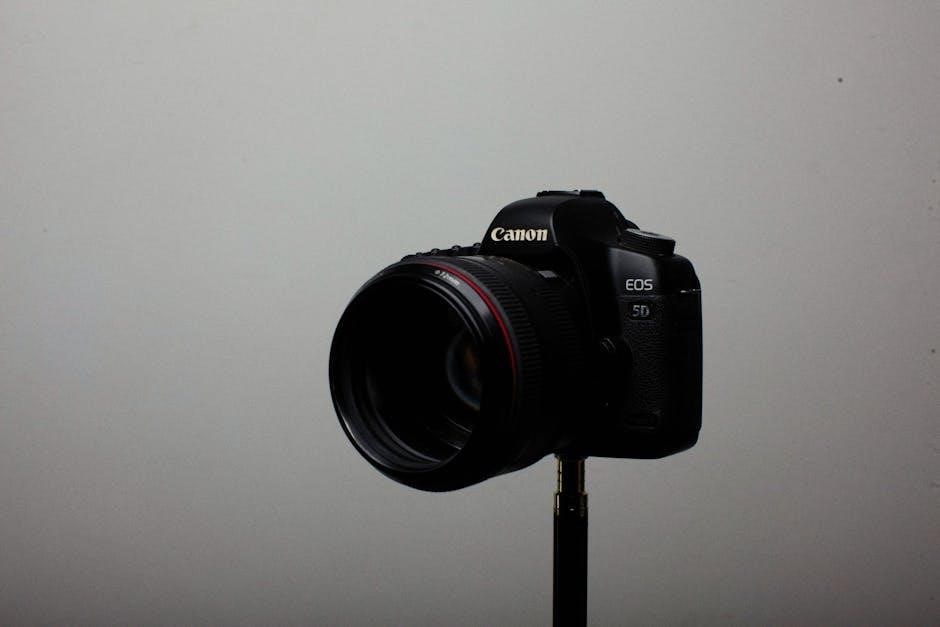
canon 5d mark iv instruction manual
This guide swiftly gets you operational with your Canon 5D Mark IV‚ offering simplified setup and usage instructions alongside helpful illustrations for a smooth start.
Welcome! This comprehensive manual assists in understanding and utilizing all features and benefits of your newly activated Canon 5D Mark IV.
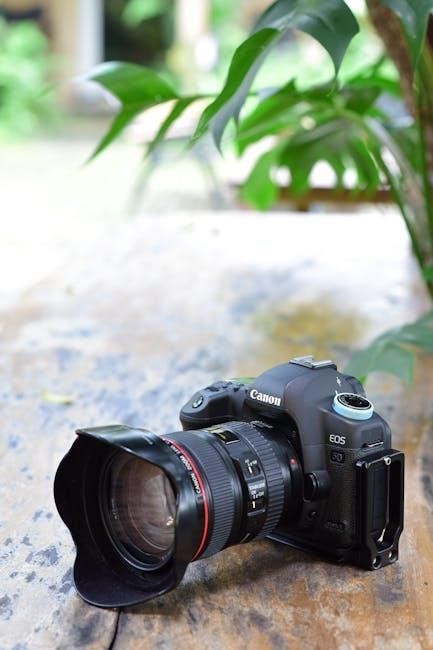
What’s in the Box?
Upon opening your Canon 5D Mark IV package‚ you’ll find several essential components to begin your photographic journey. Included is the 5D Mark IV camera body itself‚ meticulously crafted for professional-grade performance. You’ll also receive a battery pack‚ ensuring immediate usability upon unboxing.
Additionally‚ a battery charger is provided to keep your power supply consistently topped up. A wide strap offers comfortable carrying‚ while interface cables facilitate seamless connectivity. Crucially‚ the box contains a comprehensive instruction manual – your guide to unlocking the camera’s full potential. Finally‚ you’ll find a warranty card for peace of mind.
Key Features Overview
The Canon 5D Mark IV boasts a remarkable 30.4MP full-frame CMOS sensor‚ delivering exceptional image quality and detail. Its advanced Dual Pixel CMOS AF system ensures swift and accurate autofocus‚ even during video recording. Experience stunning 4K video capture at 30p‚ offering cinematic possibilities.
Furthermore‚ the camera features a high-speed continuous shooting rate of 7fps‚ ideal for capturing action. A 150‚000-pixel RGB+IR metering sensor enhances exposure accuracy. Built-in Wi-Fi and NFC enable effortless image sharing and remote control. The robust build quality ensures durability for professional use.

Setting Up Your Camera
Begin by preparing your Canon 5D Mark IV for its first use; this involves essential steps like battery charging and memory card insertion for optimal performance.
Charging the Battery
To charge the Canon 5D Mark IV’s battery (LP-E6N/LP-E6)‚ locate the battery compartment and insert the battery securely. Connect the supplied battery charger (LC-E6) to a wall outlet.
The charger’s indicator light will illuminate‚ typically showing orange during charging and turning green when fully charged. A full charge usually takes approximately 2-4 hours.
Avoid interrupting the charging process. It’s recommended to use the Canon-supplied charger for optimal battery health and performance. Ensure the battery is cool before removing it from the charger.
Always handle the battery with care‚ avoiding drops or exposure to extreme temperatures.
Inserting and Formatting Memory Cards
The Canon 5D Mark IV supports both CompactFlash (CF) and SD cards. Locate the card slots on the camera’s side. Gently insert the cards‚ ensuring they click into place.
To format a card‚ navigate to the camera’s menu: Setup > Format. Select the card you wish to format and confirm the operation. Formatting erases all data on the card‚ so back up important files beforehand.
Formatting ensures compatibility and optimal performance with your camera. It’s recommended to format cards in camera rather than on a computer.
Always eject cards safely through the menu before physically removing them.
Initial Camera Settings
Upon powering on your Canon 5D Mark IV for the first time‚ several initial settings are crucial. Set the date‚ time‚ and shooting location via the setup menu. Configure your preferred image quality – RAW or JPEG – based on your editing workflow.
Customize the button functions to match your shooting style for quicker access to frequently used features. Select your desired menu display language.
Enable or disable auto-review after capturing images. Finally‚ set the initial picture style to Standard‚ Portrait‚ or Landscape‚ adjusting later as needed.

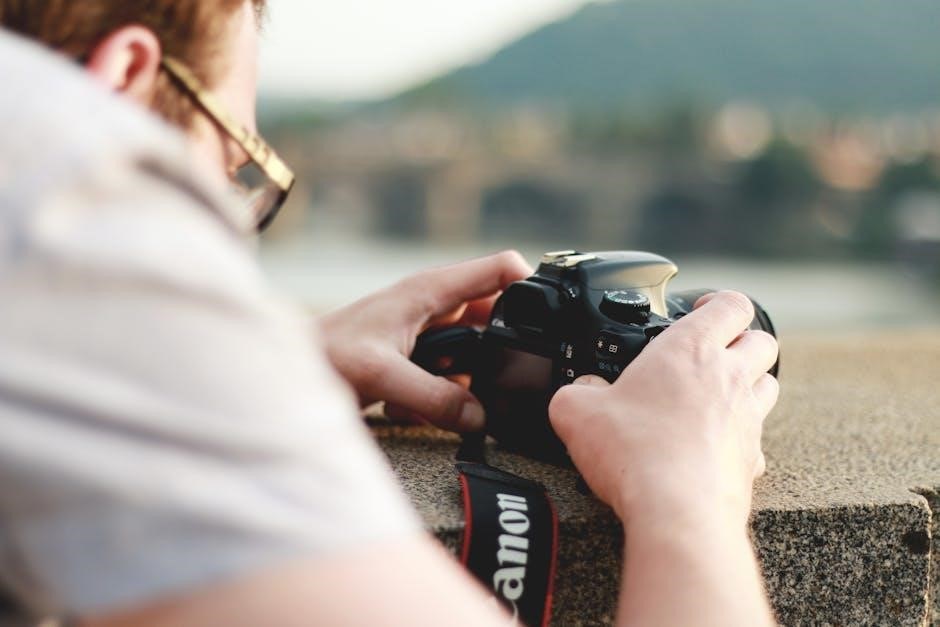
Understanding the Camera Interface
Familiarize yourself with the LCD screen‚ buttons‚ and menu system for efficient navigation. The Quick Control Screen provides rapid access to key settings.
LCD Screen and Buttons

The Canon 5D Mark IV’s expansive LCD screen serves as your primary viewing portal and information hub; It displays shooting settings‚ image playback‚ and menu options with clarity. Surrounding the screen are a series of buttons and dials‚ each assigned specific functions.
The directional buttons navigate menus and select options‚ while the Set button confirms choices. The Quick Control button grants instant access to frequently adjusted settings. The Mode dial selects shooting modes‚ and the Main dial adjusts settings like aperture and shutter speed.
Understanding the layout and function of these controls is crucial for efficient operation and customizing your shooting experience. Experiment with each button to become comfortable with its role.
Menu Navigation
Accessing the menu on your Canon 5D Mark IV is done by pressing the Menu button. The menu is logically organized into several tabs‚ each representing a different category of settings – shooting‚ AF‚ exposure‚ quality‚ and more.
Use the directional buttons to navigate between tabs and menu items. The Set button selects the highlighted option. Many settings have sub-menus‚ indicated by a right-pointing arrow. Pressing the Set button again will enter these sub-menus.
Familiarize yourself with the menu structure to quickly locate and adjust camera settings. The menu system is intuitive‚ allowing for precise customization of your shooting experience.
Quick Control Screen
The Quick Control Screen provides rapid access to frequently used settings. Activated by pressing the ‘Q’ button‚ it displays key parameters like shooting mode‚ aperture‚ shutter speed‚ ISO‚ and autofocus settings directly on the LCD screen.
Navigate using the directional buttons to highlight a setting‚ then rotate the Main Dial to adjust its value. This offers a streamlined workflow‚ minimizing time spent navigating through the full menu system.
Customization is key! You can personalize the Quick Control Screen to display the settings you use most often‚ enhancing efficiency during shooting sessions.

Shooting Modes & Basic Operation
Explore diverse modes‚ from fully automatic Scene Intelligent Auto for simplicity‚ to Program AE‚ Aperture Priority‚ and full Manual control for creative flexibility.
Auto Modes (Scene Intelligent Auto)
Scene Intelligent Auto (SiA) is Canon’s smart‚ fully automatic shooting mode‚ ideal for beginners or situations demanding quick results. The camera intelligently analyzes the scene – detecting faces‚ brightness‚ color‚ contrast‚ and movement – to select optimal settings.
SiA excels in various scenarios‚ including portraits‚ landscapes‚ sports‚ and low-light conditions. It automatically chooses the appropriate ISO speed‚ aperture‚ shutter speed‚ and white balance.
To engage SiA‚ simply set the mode dial to the ‘A+’ position. The camera handles everything‚ allowing you to focus solely on composition and capturing the moment. It’s a fantastic starting point for learning photography!
Program AE (P) Mode
Program AE (P) mode offers a balance between automatic operation and creative control. The camera sets both aperture and shutter speed‚ but you retain the ability to adjust ISO‚ white balance‚ and exposure compensation.
This mode is excellent for general photography where you want the camera to handle the technical aspects while allowing for some personalized adjustments. You can ‘shift’ the program‚ altering both aperture and shutter speed simultaneously for creative effects.
To shift the program‚ use the main dial; this allows for slight over or underexposure without fully entering manual mode. It’s a versatile option for various shooting situations.
Aperture Priority (Av) Mode
Aperture Priority (Av) mode empowers you to control the depth of field by selecting the aperture (f-stop)‚ while the camera automatically determines the appropriate shutter speed for correct exposure.
This mode is ideal for portraiture‚ landscapes‚ and situations where controlling background blur is crucial. A wider aperture (lower f-number) creates a shallow depth of field‚ isolating your subject‚ while a narrower aperture (higher f-number) increases depth of field‚ keeping more in focus.
Remember to monitor the shutter speed; ensure it’s fast enough to prevent motion blur‚ especially in low light.
Focusing & Metering
Mastering focus and metering is key to sharp‚ well-exposed images. Explore autofocus modes‚ metering options‚ and focus area selection for optimal results.
Autofocus Modes & Selection
The Canon 5D Mark IV boasts a sophisticated autofocus system with various modes tailored to different shooting scenarios. One-Shot AF is ideal for static subjects‚ locking focus when the shutter button is half-pressed.
AI Servo AF continuously tracks moving subjects‚ maintaining focus as they change distance. AI Focus AF intelligently switches between One-Shot and AI Servo‚ adapting to subject movement.
Manual Focus (MF) provides complete control‚ useful for precise focusing or challenging conditions. AF Area Selection Modes include Single-point AF‚ Zone AF‚ Large Zone AF‚ and Automatic Selection AF‚ allowing you to specify the area the camera uses to acquire focus. Experiment with these settings to find what best suits your photographic style and subject matter.
Metering Modes Explained
The Canon 5D Mark IV offers several metering modes to accurately expose your images. Evaluative Metering analyzes the entire scene‚ providing a balanced exposure suitable for most situations. Partial Metering measures light from approximately 6.5% of the frame‚ useful for subjects with strong backlighting.
Spot Metering measures light from a very small area (approximately 2.8% of the frame)‚ ideal for precise exposure control in challenging lighting. Center-weighted Average Metering prioritizes the center of the frame while considering the entire scene.
Understanding these modes allows you to tailor exposure to your specific needs‚ ensuring properly exposed images in diverse conditions.
Focus Area Selection
The Canon 5D Mark IV provides extensive control over focus point selection. You can choose from One-Shot AF for static subjects‚ AI Servo AF for tracking moving subjects‚ and AI Focus AF which automatically switches between the two.
Focus Area Modes include Single-point AF‚ allowing precise point selection; Zone AF‚ utilizing a zone of focus points; and Automatic Selection AF‚ letting the camera choose.
Customizing these settings enables you to prioritize focus on specific areas‚ ensuring sharp images‚ particularly when photographing dynamic scenes or subjects requiring pinpoint accuracy.

Advanced Shooting Techniques
Unlock your camera’s potential by mastering Manual Mode‚ customizing Picture Styles‚ and effectively utilizing Live View for precise control and creative expression.
Manual Mode (M) – Full Control
Embrace complete creative authority with Manual Mode (M). This mode grants you independent control over both aperture and shutter speed‚ allowing for precise exposure adjustments tailored to your artistic vision.
Mastering this mode requires understanding the interplay between ISO‚ aperture‚ and shutter speed. Adjust aperture for depth of field‚ shutter speed to freeze or blur motion‚ and ISO to manage sensitivity in varying light conditions.
Utilize the camera’s light meter as a guide‚ but don’t be afraid to deviate for stylistic effect. Manual Mode is ideal for challenging lighting scenarios and achieving unique‚ personalized results. Experiment and refine your technique to unlock the full potential of your Canon 5D Mark IV.
Customizing Picture Styles
Shape your images’ personality with Canon’s Picture Styles. These pre-set tonal packages – Standard‚ Portrait‚ Landscape‚ Neutral‚ Faithful‚ and Monochrome – offer distinct looks straight from the camera.
Go beyond presets by customizing each style to your exact preferences. Adjust parameters like sharpness‚ contrast‚ color saturation‚ and tone to create a signature aesthetic.
Save your personalized styles for consistent results across shoots. Picture Styles are a powerful tool for streamlining your workflow and achieving a cohesive visual identity. Experiment to discover the perfect settings for your photographic style and subject matter.
Using Live View
Explore precise composition and focus with the Canon 5D Mark IV’s Live View mode. Activate it by switching to the Live View shooting mode on the camera’s dial. The rear LCD displays a direct feed from the image sensor.
Benefit from magnified views for critical focus confirmation‚ especially useful for macro or detail shots. Utilize focus peaking to visually highlight in-focus areas.
Live View also enables silent shooting‚ ideal for sensitive situations. Remember that prolonged Live View use can impact battery life and potentially cause sensor heating.
Video Recording Features
Capture stunning videos with the Canon 5D Mark IV‚ offering 4K recording‚ detailed audio control‚ and diverse file format options for professional results.
4K Video Recording Settings
Achieving optimal 4K footage requires careful configuration; Navigate to the video recording menu to select 4K resolution (3840 x 2160).
Frame rates are crucial; choose between 24p for a cinematic look‚ or 30p for smoother motion.
Consider the crop factor – 4K recording utilizes a slightly cropped sensor area.
Adjust the bitrate for desired quality; higher bitrates result in larger file sizes but superior detail.
Enable or disable the Movie Servo AF for continuous autofocus during recording. Experiment with these settings to find the perfect balance for your creative vision.
Audio Control & Input
The Canon 5D Mark IV offers robust audio control for professional video recording. Access the audio settings through the camera’s menu system.
You can adjust input levels manually or utilize auto-level control.
Monitor audio in real-time using headphones connected to the camera’s headphone jack.
External microphones can be connected via the 3.5mm microphone input.
Disable internal microphone when using an external source for cleaner audio. Ensure proper gain staging to avoid clipping or excessive noise during recording.
Video File Formats
The Canon 5D Mark IV records video in several formats‚ offering flexibility for post-production workflows. MP4 is the primary format‚ utilizing the H.264/MPEG-4 AVC codec for efficient compression and broad compatibility.
For higher quality‚ you can choose to record in MOV format‚ employing the All-I codec. This results in larger file sizes but simplifies editing.
Resolution options include 4K (3840 x 2160) and Full HD (1920 x 1080).
Frame rates available are 24p‚ 25p‚ and 30p for a cinematic look‚ and up to 60p for smoother motion.

Connectivity & Transferring Images
Seamlessly connect your Canon 5D Mark IV via Wi-Fi‚ NFC‚ or USB for effortless image transfer and remote control using the Canon app.
Wi-Fi & NFC Setup
Establishing a wireless connection with your Canon 5D Mark IV is straightforward. Navigate to the camera’s Wi-Fi settings within the menu. Select your network and enter the password when prompted.
For NFC pairing‚ ensure NFC is enabled on both your camera and compatible smartphone or tablet. Simply touch the devices together‚ and the camera will initiate the connection.
The Canon Camera Connect app facilitates image browsing‚ downloading‚ and remote camera control. Once connected‚ you can transfer photos directly to your mobile device for easy sharing and editing. Remember to consult the app’s documentation for detailed instructions.
Connecting to a Computer via USB
To transfer images to your computer‚ use a compatible USB cable to connect your Canon 5D Mark IV. Power on the camera and select the appropriate USB connection mode in the camera’s menu – typically ‘PC connect’.
Your computer should recognize the camera as a storage device. You can then browse the DCIM folder to access your photos and videos. Alternatively‚ utilize Canon’s Image Transfer Utility software for streamlined importing.
Ensure the software is installed correctly for optimal functionality. Disconnect the camera safely through your operating system after transfer is complete.
Canon Camera Connect App
The Canon Camera Connect app‚ available for iOS and Android‚ enables wireless control and image transfer. Download and install the app on your smartphone or tablet‚ then connect to your Canon 5D Mark IV via Wi-Fi.
Follow the on-screen instructions within the app to pair the devices. Once connected‚ you can remotely control camera settings‚ trigger the shutter‚ and browse/download images directly to your mobile device.
This app offers convenient sharing options to social media platforms‚ simplifying your workflow.
Maintenance & Troubleshooting
Ensure optimal performance by regularly cleaning the sensor and practicing proper battery care. Address common error messages with provided solutions for continued use.
Cleaning the Sensor
Maintaining a pristine sensor is crucial for image quality. Dust accumulation can lead to unwanted spots in your photographs‚ diminishing clarity and detail. The Canon 5D Mark IV has a self-cleaning mechanism‚ but periodic manual cleaning may be necessary.
Use a blower to gently remove loose particles first. If stubborn dust remains‚ employ a sensor cleaning kit specifically designed for DSLR cameras. Always follow the kit’s instructions carefully to avoid damaging the sensor. Improper cleaning can cause permanent damage‚ so proceed with caution and consider professional cleaning if unsure.
Regular checks and preventative measures will minimize the need for frequent sensor cleaning‚ ensuring consistently sharp and beautiful images.
Battery Care & Lifespan
Maximizing battery life is essential for extended shooting sessions. The Canon 5D Mark IV utilizes a high-capacity lithium-ion battery‚ but proper care significantly impacts its performance and longevity. Avoid extreme temperatures‚ as both heat and cold can reduce battery capacity.
Fully charge the battery before initial use and after prolonged storage. Don’t leave the battery fully discharged for extended periods. Store batteries in a cool‚ dry place. Using the camera’s power-saving features‚ like auto power-off‚ will also conserve energy. Expect several hundred shots per charge‚ depending on usage.
Over time‚ all rechargeable batteries degrade; replacement may be necessary.
Common Error Messages & Solutions
Encountering error messages is sometimes unavoidable. The Canon 5D Mark IV displays codes to indicate specific issues. “Err 01” often signals a card error – check card compatibility and formatting. “Err 20” suggests a lens communication problem; ensure proper lens attachment and contact cleaning.
If you see “Err 99”‚ it indicates a more serious internal error‚ potentially requiring professional service. Refer to the full error code list in the camera’s manual for detailed explanations. Restarting the camera and re-inserting the battery or card can often resolve minor glitches.
For persistent errors‚ consult Canon’s support website.